I've been away a while, but now that the weather is turning warm in the Northeast, I hope to be posting more often. A few months ago I found a bike out in the trash. I've been using it as a learning bike before I try anything big on my wife's bike.
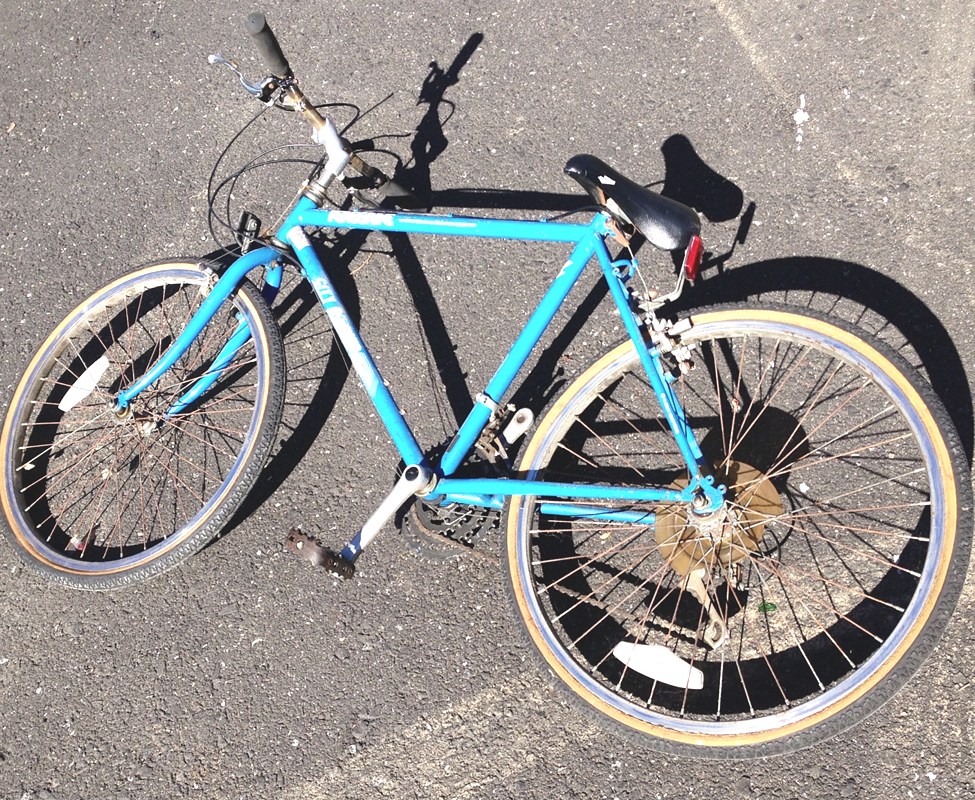
Training Bike
My goal for today was to disassemble the main crank and see what lay inside.
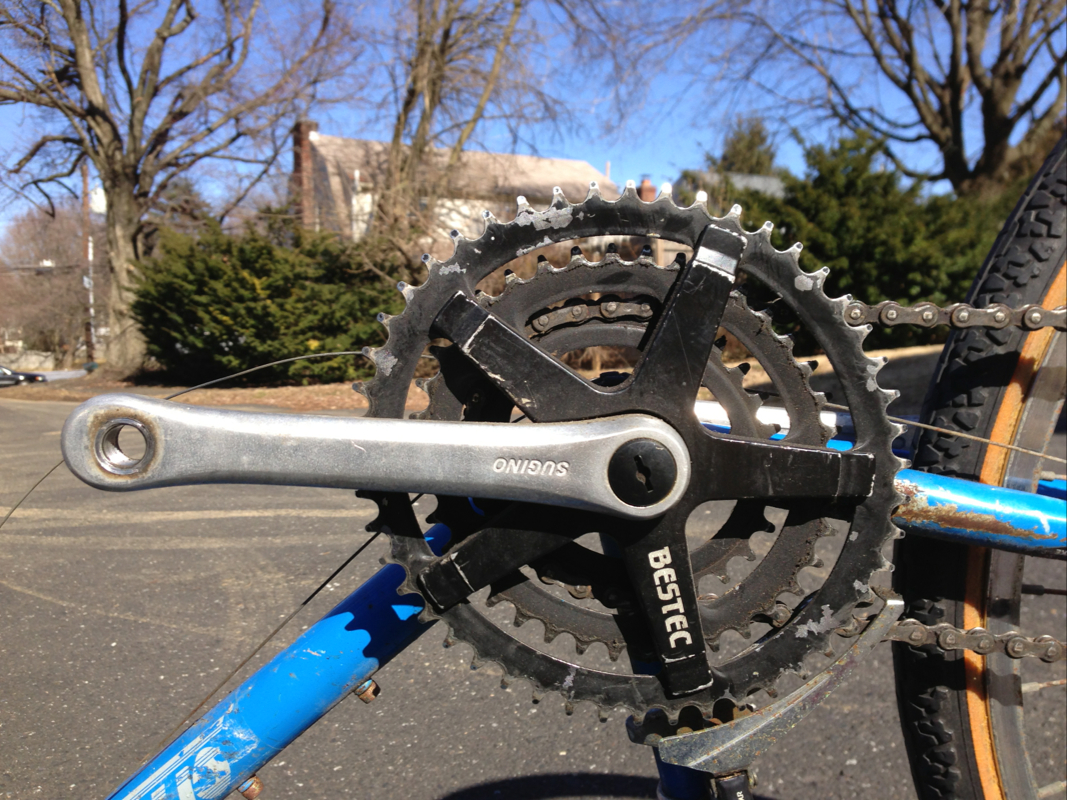
I managed to get it almost totally off, and doing so required overcoming a few challenges:
- You can see there's a plastic cover over the end of the crankshaft. The brittle plastic broke as I was unscrewing it, leaving the plastic threads inside. I had to hammer a screwdriver in there to remove them.
- Inside that cover is a nut that required a ratchet to remove. This was solved with a quick trip to the hardware store.
- Lastly, to reveal the ball bearing casing, you need a skinny wrench to fit between the frame and the pedal shaft. Luckily, my dad had given me a really old one that, up to now, I hadn't known what to do with.
 RSS Feed
